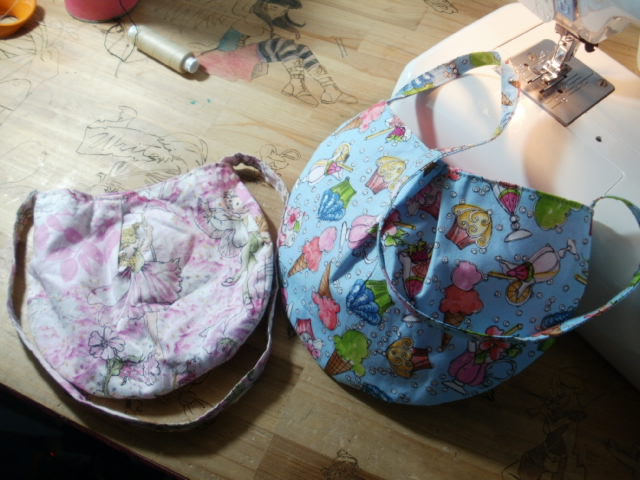
And so to things more refined. I promised this tutorial an age ago, but now I've actually sold out of all of my little girls bags I decided to knock one up this evening. However, I think it is most likely that it will disappear off in the direction of youngest daughter who is always down the pecking list when it comes to new bags.

You will need:
1 fat quart for the outside. This will make two bags easily.
Something for the lining.
A small piece of interfacing.
First make the pattern.

Grab a dinner plate and draw around it. Draw a bisecting line across the circle that measures 26cm. you should end up with slightly more than a semi circle.
Cut two from the main fabric, two from the lining fabric and two from the interfacing. you also want to cut a 5cm strip from the longest edge of the fat quart which is about 22 inches long.
Strap.
Fold the strip of fabric you cut in half and iron the crease. Open it out then fold and iron each long edge into the central crease.


Iron the interfacing to the back of the outer fabric, then you want to put in the pleats. Mark the centre of the bag piece on the straight edge then measure and mark 2.5cm to each side. Bring these points in towards the centre and pin in place. Secure with a straight stitch.


Place the outer bag inside the lining, match up the side seams and the central pleats and pin in place.

Turn the right way around through the hole in the bottom. Press around the top edge. I find it helpful to pin it again before top stitching around the top edge, As the lining isn't interfaced, you don't want it to rise up as you're stitching.


Well tomorrow evening its back to the clarinet. My machine will be missing me!
xx
Adorable, thanks for sharing!
ReplyDelete