Tuesday 20 November 2012

Chorizo and Seafood Soup

Proclaimed by Mr B to be his favourite meal the other week, this soup is simple and very, very tasty. Which is all you can really ask of a dish. It also coverts easily into a meal for the children who are not so soup friendly. And Mr B is in the good books at the moment for finally putting some plasterboard up on the kitchen ceiling. Its been a long time coming. That's all I shall say. At this rate I shall be painting next week. I'll dust off my rollers!
Anyway, to the soup.
Ingredients.

100g Chorizo, diced
Red pepper, diced
Tin of chopped tomatoes
200ml vegetable or fish stock
Packet of mixed seafood (prawns, squid, mussels)

Fry the chorizo first to release the oil from it, then add the pepper and fry to soften. Once the pepper is cooked a little, add the tinned tomatoes and stock and allow to simmer for about ten minutes. I like to use Marigold bouillon stock powder, it seems to have a magic touch and can really pull dishes around. Add the seafood and cook for a couple more minutes. Then season and serve!
Sometimes I add some pasta to it to make it more substantial, and for the girls I give them predominantly pasta and use the soup as a sauce over the top of it.


A bowl full of loveliness, just what you need on a cold, windy evening.

xx

Friday 9 November 2012

A Novel Idea

So you may or may not know that November is NaNoWriMo (National Novel Writing Month) (not the catchiest acronym ever admittedly). Now I love writing, I'm always doing it, an who knows, maybe one November I may actually get one of my novels completed! (that would be that November filled with Sundays). I also love making notebooks and I have done a few tutorials before of a notebook based theme. I saw some gorgeous notebooks up at my local purveyor of loveliness Kerri's Farmhouse Pine in Reepham the other day (if you haven't already and live in the area they're well worth a trip but take your thermals at this time of year). I digress. Not one for buying things when I know I can make them I thought I would. So here's how to.

First take eight pieces of A4 paper. Fold in half length ways the cut in half to make two sixteen page folios. I made five of these, but you can make as many as you like. I like to sew down the centre fold, but you could easily staple them together too.

Then grab a hole punch and punch holes in each folio. Set aside. You're done with those for a moment.
Next cut out your covers. I use grey board, its cheap and comes in massive sheets. I usually add an extra 5mm to the size of the paper, so you want to cut out two covers that are 15.5mm x 11mm. Punch hole in these too. Remember to mark a central line from which to guide you, as the guide on the punch, if you have one, won't take into account for the extra height of the cover.
Put the folios in between the covers and measure to get the size of the spine. Mine was 1.4cm x 15.5cm.
Return to your folios. You're going to wrap them in some patterned paper, so you glue the front page of the top folio to the patterned paper and the back cover of the last folio down with the others in between to get the right gap for the spine. That sounds more convoluted than it actually is! Promise. What you should be left with is two folios glued down to your patterned paper with a gap of around a centimetre in between. Trip the paper to fit, then cut the holes with a craft knife or scalpel.
Now to make the cover. I use Modge Podge to glue the covers down to your chosen fabric. Often I'll print my own but in this instance I continued the book theme with some rather tasty book spine fabric. Make sure that the top and bottom line up and that you leave a gap of 2-3mm between each piece of card to allow the book to bend.
You want to trim around, giving yourself a centimetre or two to fold over and glue down the excess. Make your edges neat like wrapping a parcel. Then measure your cover and subtract 1cm from both height and width and cut out another piece of patterned paper. Glue this down to cover the untidy edges.

Cut the holes out. I used a scalpel for the paper and a pair of embroidery scissors for the fabric- very sharp and pointy! Then all that's left to do its join it all together. I used a length of velvet ribbon to thread through the cover, then the folios, out through the back cover, then back round through the other holes:
And one pretty bow and you're finished! Allow a bit of slack so you can open it though.

Perhaps a stocking filler for a gent? ( Less of the pretty bow in that instance!)

xx

Wednesday 7 November 2012

Spicy Squash Soup

Well its the season for squash and pumpkins and all that. And I know they're good for you but I do have to admit to a bit of an aversion to squashes and root vegetables. Squashes and pumpkins I can get on with provided theres a bit of spice to them. After a trip to the farmers market at the weekend we returned with backs of deliciousness and a small butternut squash and a diddy pumpkin. I searched around for a really quick, simple recipe but failed. Its possible I didn't search that thoroughly however. Anyway, this is my go at one and although a little on the hot side for two chilli shy girls, it was a hit with me and the hubby and went a treat with our rye and caraway bread.
Please excuse the blurriness of the photo. Its a new camera with a lot of settings and I was obviously on the wrong one!

Ingredients:
1 onion diced
1 small butternut squash diced
1 small pumpkin diced
1 tbsp Thai red curry paste
500ml vegetable stock
1 tin coconut milk
Fish sauce

Soften the onion in some oil for a few minutes then add your squash and pumpkin and stir it round with the curry paste. You can obviously add more or less depending on your liking for the hot stuff. Pour your stock in and leave to bubble away until the squash is soft. Take off the heat and blend to a smooth consistency. Add in the coconut milk then heat through again. Use the fish sauce to season. I think I used about a tablespoon but pour in a bit and taste it. You could also stir in some coriander too. Note to self, must grow a pot of coriander for the window sill.

Just what you need on a cold evening. And it has been cold recently!

Wednesday 17 October 2012

Super Simple Purse Frame Tutorial

A while ago, quite a long while ago in fact, may well be a good six months back I bought a job lot of rectangular purse frames. Can't resist a bargain. They have, however been languishing in the bottom of a basket ever since. On the to do list but never quite making it to the top.

But with that Christmas thing approaching and a market on Saturday, I decide to pull my finger out and get making. Spurred on by a new handful of fat quarts, some delicious new Tilda fabrics, I had a quick search. I did find a tutorial I had used before, but it called for very stiff interfacing and made a purse that was just too firm for my liking.
 So this is my version. And its so simple that I managed to knock up a couple this morning whilst looking after young Pambers.


Firstly take your measurements. My purse frames are 14cm, I wanted them 9cm high and 6cm deep. So the pattern size is:

Width = 14cm + 6cm + 2 x seam allowance of 1cm = 22cm (purse frame width + 1 x depth + 2 x seam allowance)
Height = (2x9cm) + 6cm = 24cm (2 x height + depth)

Cut a rectangle of your required sizes from your main fabric, a lining fabric and iron on interfacing. Also cut a rectangle of felt the width of your purse frame by the height, ie. 14cm x 24cm.
Centre the felt on the back of the main fabric and place the interfacing over it and iron in place. Stitch a straight stitch along the top and the bottom to help hold it in place.
Fold your fabric in half right sides facing, and sew up both edges with a 1cm seam allowance.

Flatten out the corners and sew at a right angle,using the felt as a guide. The line should measure your purse depth - 6cm in my case.

Cut off the excess and turn the right side out. Repeat with the lining fabric- sew the sides and box the corners- but leave unturned.
Put the outer into the lining, line up the side seams and pin in place.

Using the felt as a guide, mark a line 1.5cm down, then join up. This is best shown rather than described:

Sew along these lines. You are creating a dip at either side which goes around the frame. Trim the fabric away- once again, cue picture!

You want to cut down to the corners but not through your stitching to create a sharp edge when you turn it.
turn it the right side out and press.

Nearly there. Just pin the top edges and sew a smallish zigzag stitch along the top.

All that's left is to glue it inside the frame. Done already!  When I glue the purse into the frame, I use a mega strong glue- I did doubt the strength of the glue until I tried to remove a purse from its frame one time and failed miserably!. Put a good load of glue in the frame and a little along the top edge of the purse, then leave it to dry for ten minutes or so. If you don't, and I once again speak from experience, you will end up with a great glue leakage and it doesn't come off fabric. With these frames I rolled up some paper (or alternatively use paper string!) and jammed it along the frame with a screw driver, then squeezed it shut with pliers- just make sure you cover the pliers with a micro fibre cloth or something similar. I did hit one or two of the frames with a rawhide mallet to close them up which is always good to release frustration! Just bear in mind that you'll have to do a bit of bending and straightening of the frame afterwards to get it to close.


My book and moustache fabric I mentioned in my last post became funky padded notebook covers:
And my liking for making oilcloth shoppers continues too:


Bring it on Christmas, I'm on a roll!

Wednesday 10 October 2012

Comic Capers..

More often than not, my inspiration comes from the fabric I find. The variety never fails to amaze me and I must spent literally hours a week either browsing on the Internet or perusing the local fabric shops. A lot of the time I'll buy a fat quart or half metre without really knowing what I'm going to do with it, and with the right patterns or mix of materials, those small quantities can go a long way.

I got some oilcloth from eBay the other day. The original plan was to make some cosmetic bags with it, but the scale of the design was too big. Time for a sudden change of plan. Shopping bag.

A quick google offered up this pattern. www.twinkleandtwine.com. I was going to come up with one of my own, but when someone covers exactly what you want, why mess around with it?

Following in the Comic book vibe, I also had a fat quart of female superhero fabric. This teamed with a couple of old pairs of jeans- you know how I love using old jeans- produced two bags! Both were made from patterns in Making magazine that I'd had stashed in a folder. You know, one of those folders which in a rare instance of organisation, I tore all of the projects that I thought I might do at some point out of the huge pile of magazines in my workshop, then they've just sat there. In the folder instead of the magazines. I have a similar one for recipes too.
Anyway, I digress.The first is a pretty cool handbag with a bit of a sixties vibe about it.
The second is a tardis like messenger bag. I mean that as in, I put two big folders inside it and there was still loads of room for other stuff. Not as in it looks like a Tardis, (although I have seen those on line too).
I rather suspect, with some fabric covered in moustaches and another in old books having just arrived through the post, that my next offering may well be heading back down the steampunk line again. But we'll see. Things, as I'm sure you're aware, are always liable to change!

xx

Tuesday 25 September 2012

A Little Vintage Inspiration

Its always nice when you go somewhere and get a little bit more than you bargained for. The other Sunday, on a normal day out to Sheringham, we stumbled across a 1940's steam day. Of course the junior members of the family weren't interested in the slightest by a parade of military vehicles and lots of people dressed up from that era. Their main focus was on the beach, playground and ice creams. In that order. So I left Mr B for half an hour to take a quick wander through the town and see what was going on.
It was great to see so many people turn out in their finery for the day and I have to say I've never seen so many dead foxes hung around ladies necks in my life. Glad that is a fashion that hasn't resurfaced.
Everyone had got into the spirit of things and there was a fantasic atmosphere to the place.

I don't know whether that has directly influenced the last weeks makes or not. Not that I've stuck to the 1940's, but I seem to have definitely taken on a retro vibe. Now this thing is out of my life:

Bye Bye Baritone...

My evenings are once again free for making stuff. So stuff I have made.

A rather smart set of decoupage coasters:


A new batch of notebooks in the same theme:


And a lovely bag made with vintage style linen , with a silk lining and an over sized purse frame.

I love being back in the swing of things. Even starting to think about the C word...

Friday 14 September 2012

First foray into dressmaking

I've had a couple of goes at very simple making of clothes before (to call it dressmaking would be overstating previous attempts drastically!) but its never really interested me. Considering I spend a fair number of evenings plonked behind my sewing machine making one thing or another there has to be a reason. There are several. Firstly I like projects I can finish in an evening, I like the instant gratification. Plus clothes are so cheap these days that to buy a pattern and material often works out considerably more expensive than just going out and buying it. So I've never bothered.
However Project Corset is getting closer and before I launch into that I wanted to give myself a run up as it were. So I had a look at the Simplicity patterns which were half price at the time -might still be- and ordered a dress pattern. I bought a gorgeous dress a few week previous in a similar style, but at the moment I can't afford anymore. Now I can make as many as I like.
There we go! Its not perfect, but I have learnt, we who make see the imperfections most people don't. I'll happily wear it and that's the most important things. So if you can cut round a patterns, use a sewing machine and follow instructions, there's nothing to it! (Well its probably more complex than that, but I'm not looking to become a tailor..)

Just a shame I've made a summer dress just a little too late in the year!

Saturday 8 September 2012

Back to school

So, its been a busy few weeks. I have been missing my crafting recently as I've been overloaded with work, not to mention entertaining two children during the summer holidays. But having almost beaten an errant baritone saxophone into submission, and Wilbsy off to school for the first time this week, normal service has been resumed.
I have been able to fit in a few little things though. Still loving those little felt top hat fascinators I mentioned in my last post and I'm starting to line them up on my shelf now.
Find the pattern at www.fleecefun.com

Further along the shelf I found this pair swept in by a tornado.
The pattern for this was from the new 'Everything Oz' book. I have quite an extensive list of things I want to make from this one more so than the previous book 'Everything Alice'. Still full of quirky and ingenious makes and bakes, I have been itching to get started on this one.

Now, a while back I make a red polka dot satchel from Lisa Lam's book 'A Bag For All Reasons'.

It is gorgeous and striking, but at a price. The hardware and interfacing made it an expensive bag to make which is fine if I was keeping it for myself, but not so great for sale. Sometimes the cost of the bits mounts up more than we expect, so if you want to sell something and make a bit of profit out of it too, you need to start thinking a bit more ingeniously. I regularly trawl eBay for less expensive parts, but never forget your local craft shop either, eBay isn't always the cheapest place.
So this is my version, a little more purse friendly.
I used different sliders and rectangular O rings for the strap, and replaced the lovely metal catches with leather straps and buckles.

Instead of the double sided fusible interfacing of the original which weighs in at a hefty £5 per 1/2 metre, I used an extra heavy iron on interfacing which has done the job nicely. And the lovely sage green polka dot fabric, well that was eBay and slightly less expensive than the red.
So this version looks just as smart as the expensive one but cost about half as much to make.
Hurrah for thriftyness!

Thursday 16 August 2012

A bit of fun.

Been a busy few weeks, school holidays not withstanding. I have been up to my eyeballs in repairs, which is fantastic from a monetary point of view, but leaves me with no time for crafty makes.

But I made time tonight (HUGE SMILEY FACE!!)

Big thanks to www.fleecefun.com for their fantastic mini top hat pattern. I have been predominantly gluing myself and bits of felt, feathers, lace, cogs...its been brilliant. And this is what I made:


I also broke out the Fimo. I have fond memories of making badges out of it and selling them to my school friends many, many years ago. Funny how things come full circle. This time I didn't opt for badges, but buttons. Simply roll it out to your desired thickness, press whatever stamps you like into it, cut to size and put holes in them. Then bake for thirty minutes, allow to cool, paint on some acrylic paint and wipe off so that the paint remains in the indents. Simples.


I finally put together a necklace I have been collecting the parts for, from the 'Steampunk Accessories' book (highly recommended if you like that kind of thing)

So that's it from me for now. I am at Fulmodeston Farmers Market on Saturday and after I've completed a rather hefty baritone saxophone overhaul I shall be back to crafting, and with 'Everything Oz' on my bookshelf, along with a corset making DVD, I shall be donning my ruby slippers and lacing up!
Take care. xx

Wednesday 1 August 2012

When a girl gets her hands on some leather

Before you go any further- I am purely talking in a crafting sense!
I ordered some leather off cuts off eBay (what would I do without eBay?) primarily for making some jewellery inspired by my latest book purchase Steampunk Accessories, and ended up with such a huge quantity that I had to find something else to do with it. Not really that difficult actually, not when you discover that the machine will deal with it quite adequately!
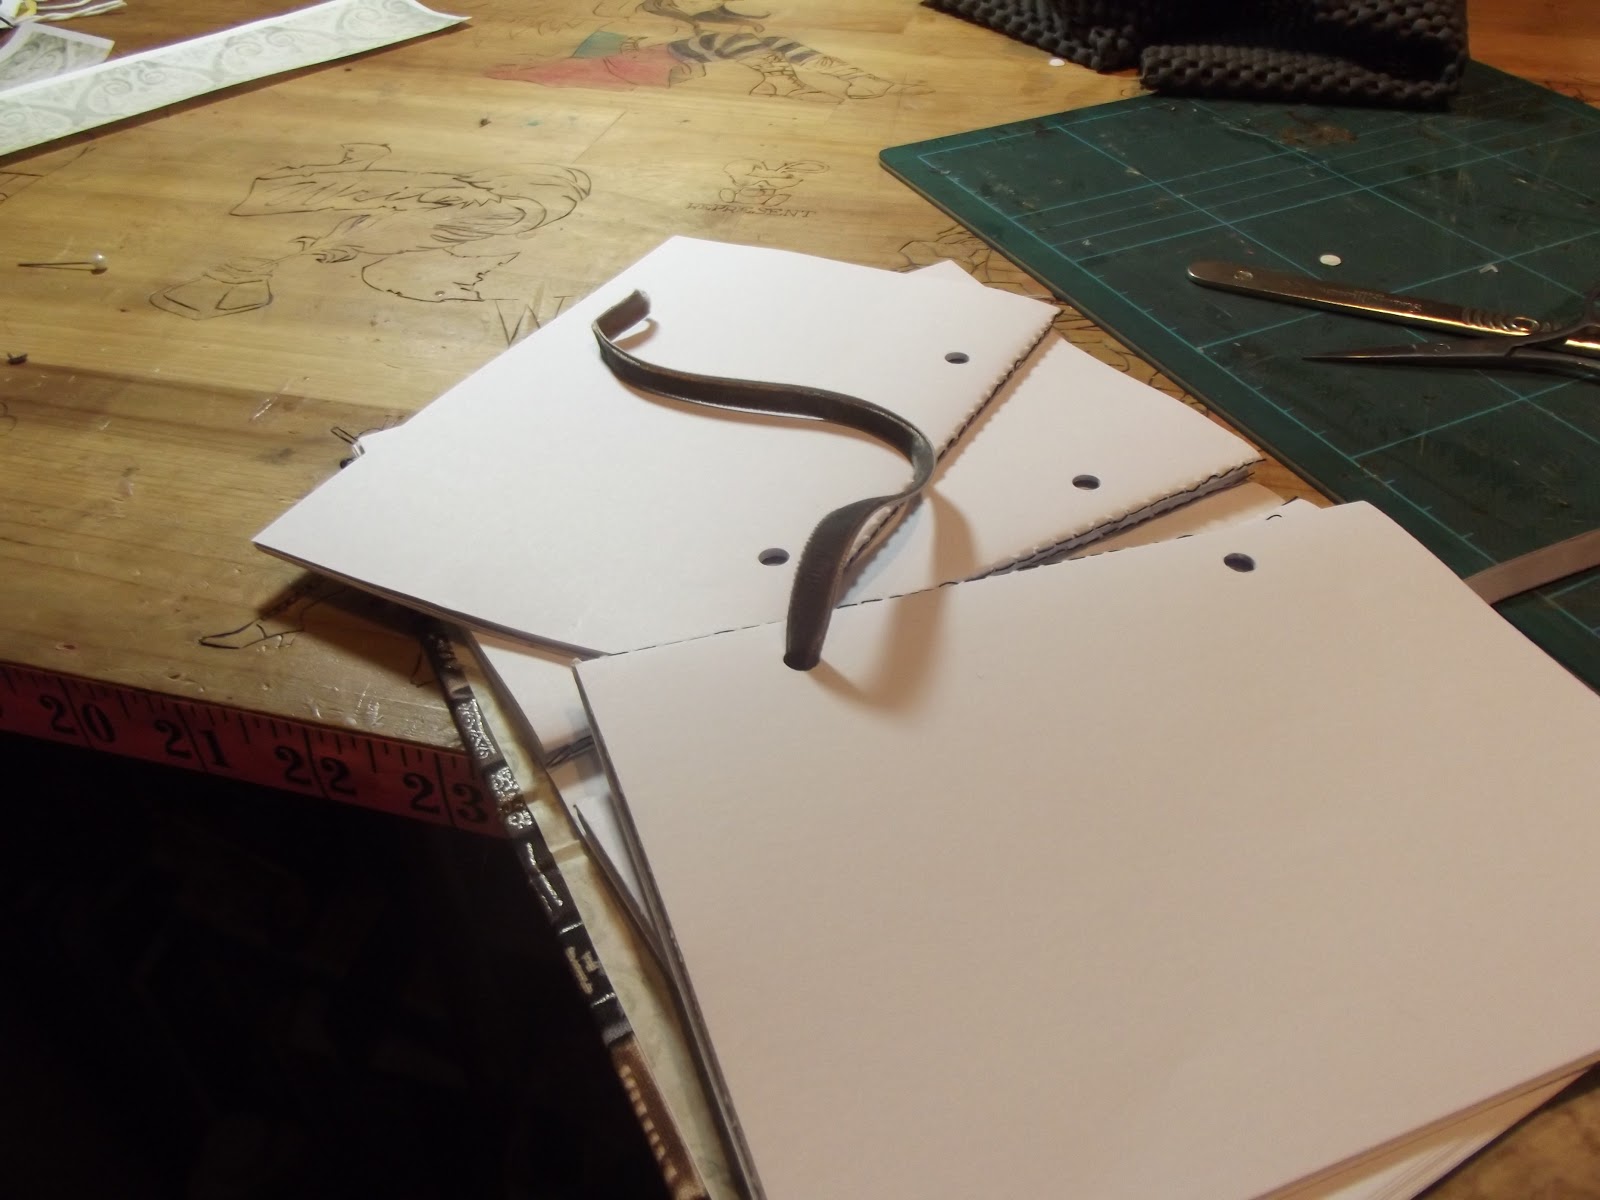
Notebooks firstly. An old sketch book was rebound with a leather cover and a book plate for a classy look..
Then I tried one with a soft wrap around cover where the paper folios are hand stitched in place, then I added what was going to be a pendant, but now features as a large button:


Then I moved on to wallets.
The first one was out of the aforementioned book, well the interior anyway, I couldn't resist the chesterfield effect print!


But this one only has space for two cards and I'm sure I'm not alone in that I have a few more than that! So I put my thinking cap on. This wallet pattern is mega simple and can be made up in less than thirty minutes. I'm sure that it wouldn't be that difficult to adapt it so that you had a cloth cover if you can't get hold of leather, as long as you stiffen it properly. So here we go..

Leather Bi fold Wallet

You will need:
About fat 1/8th fabric.
A rectangular piece of leather about 9cm x 20cm
Some medium weight interfacing
Some fabric glue

  1. Measure and cut four rectangles of interfacing. 1 @ 20cm x 9cm, 1 @ 20cm x 8cm, 1 @ 20cm x 6.5cm, 1 @ 20cm x 5.3cm. Iron onto your fabric and cut out with an extra 1cm all around for seam allowance.
2. Put the largest rectangle to one side. Iron down the top edge of each piece, using the interfacing as your guide;
and top stitch.
3. Make your card slots. Do this by lying the 6.5cm piece on top of the 8cm piece, 1.3cm down from the top edge. Pin it to hold in place, then mark a horizontal line 6cm down from the top and stitch along this line.
Trim off the excess below the sewn line to minimise bulk, then lay the smallest rectangle on top another 1.3cm down. This time you want to sew a vertical line down the centre of the card slots to divide then Fold your fabric in half, press down to crease then sew down the line.
4.Grab the 9cm x 20cm piece you put aside and lay it face down. Then place your card slot piece onto it, also facing downwards, aligning the bottom edges.
Sew around the three edges of the card slot piece, once again using the interfacing as your guide. Trim down the seam allowance of the card slot piece and clip the corners for turning. You also need to make a small snip on the backing fabric where the top of the card slot piece is on either side, otherwise the fabric will want to turn inwards rather than around to the back. (wish I'd taken a photo of that!) Turn the card slot piece round, push out the corners and iron flat.
5. Press over the top edge of the main piece and the little remaining side bits so you have a neat square. You can use a few dabs of fabric glue just to hold it in place. I did one wallet with glue, one without and take it from me, its easier with. Home straights now. You can decorate the outside of the wallet how you wish. I glued a clock face on to one of them which is best left until after assembling, but if you wanted to sew anything on or add studs, now is the time.
6. Apply a squiggle of fabric glue to your leather rectangle and press your fabric interior down onto it. Two things, don't get too close to the edge, you'll gunk up your machine needle, and make sure it doesn't soak through to the money slot and glue the whole thing together! All that's left to do is sew around the edge. Leave a couple of inch gap at the centre of the bottom edge, just makes it fold and lay flat a little easier.

Stick your cards in it to help to fabric smooth out and there you go!

Its not all been about leather, Mr Pinhead has a spiky cactus pincushion to keep him company now.
And there I was thinking I hadn't done much making recently!

Take care. xx