So you may or may not know that November is NaNoWriMo (National Novel Writing Month) (not the catchiest acronym ever admittedly). Now I love writing, I'm always doing it, an who knows, maybe one November I may actually get one of my novels completed! (that would be that November filled with Sundays). I also love making notebooks and I have done a few tutorials before of a notebook based theme. I saw some gorgeous notebooks up at my local purveyor of loveliness Kerri's Farmhouse Pine in Reepham the other day (if you haven't already and live in the area they're well worth a trip but take your thermals at this time of year). I digress. Not one for buying things when I know I can make them I thought I would. So here's how to.
First take eight pieces of A4 paper. Fold in half length ways the cut in half to make two sixteen page folios. I made five of these, but you can make as many as you like. I like to sew down the centre fold, but you could easily staple them together too.
Then grab a hole punch and punch holes in each folio. Set aside. You're done with those for a moment.
Next cut out your covers. I use grey board, its cheap and comes in massive sheets. I usually add an extra 5mm to the size of the paper, so you want to cut out two covers that are 15.5mm x 11mm. Punch hole in these too. Remember to mark a central line from which to guide you, as the guide on the punch, if you have one, won't take into account for the extra height of the cover.
Put the folios in between the covers and measure to get the size of the spine. Mine was 1.4cm x 15.5cm.
Return to your folios. You're going to wrap them in some patterned paper, so you glue the front page of the top folio to the patterned paper and the back cover of the last folio down with the others in between to get the right gap for the spine. That sounds more convoluted than it actually is! Promise. What you should be left with is two folios glued down to your patterned paper with a gap of around a centimetre in between. Trip the paper to fit, then cut the holes with a craft knife or scalpel.
Now to make the cover. I use Modge Podge to glue the covers down to your chosen fabric. Often I'll print my own but in this instance I continued the book theme with some rather tasty book spine fabric. Make sure that the top and bottom line up and that you leave a gap of 2-3mm between each piece of card to allow the book to bend.
You want to trim around, giving yourself a centimetre or two to fold over and glue down the excess. Make your edges neat like wrapping a parcel. Then measure your cover and subtract 1cm from both height and width and cut out another piece of patterned paper. Glue this down to cover the untidy edges.
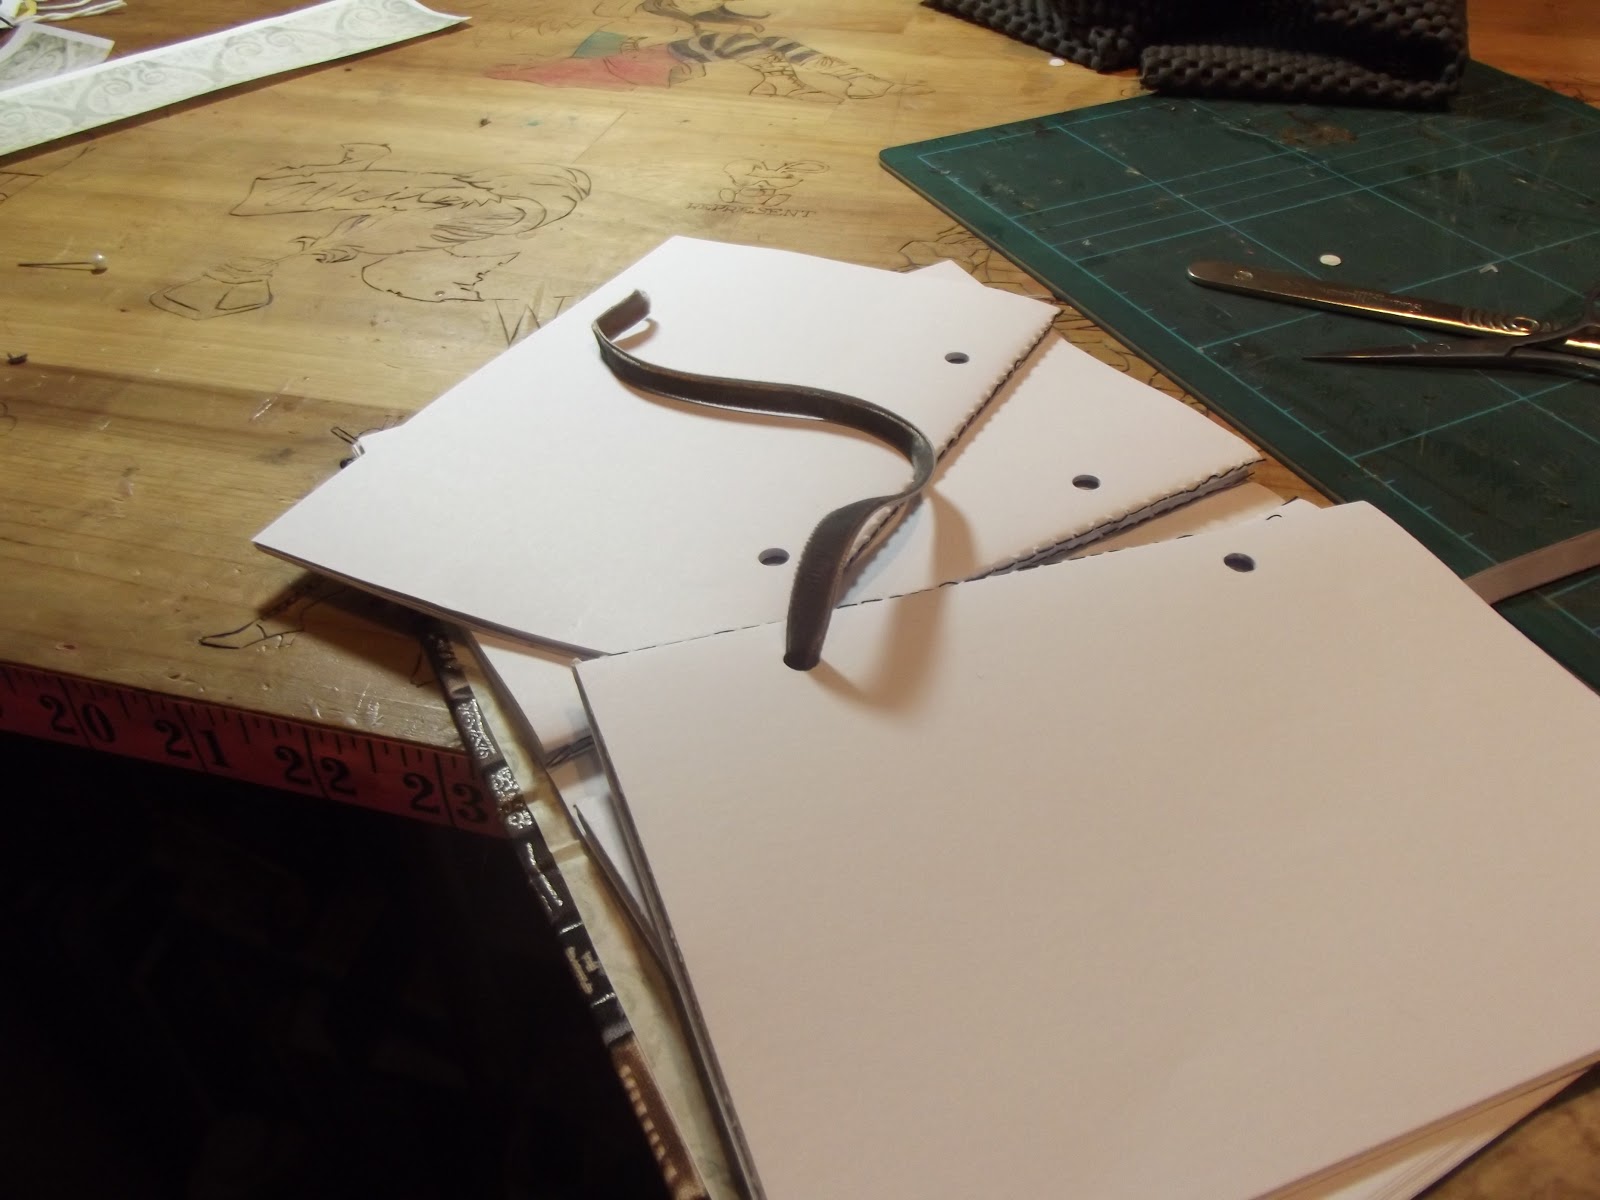
Cut the holes out. I used a scalpel for the paper and a pair of embroidery scissors for the fabric- very sharp and pointy! Then all that's left to do its join it all together. I used a length of velvet ribbon to thread through the cover, then the folios, out through the back cover, then back round through the other holes:
And one pretty bow and you're finished! Allow a bit of slack so you can open it though.
Perhaps a stocking filler for a gent? ( Less of the pretty bow in that instance!)
xx


No comments:
Post a Comment